An automatic material system is a convenience, not a requirement. If your colors are stacked by height rather than sitting side by side, a single extruder printer will do multicolor work perfectly well, and the only cost is standing by the machine for a few seconds per change.
We use this for flat pieces, which is exactly where it shines.
The idea in one paragraph
Your slicer can insert an instruction at any layer you choose. Two kinds matter here. A filament change stops the print, moves the head aside and prompts you to load a different filament. A pause simply stops and waits. Either way, the machine holds position, you swap the spool by hand, and printing resumes with everything above that layer in the new color. The model does not need to be designed for multiple materials. You are slicing one object and interrupting it at a chosen height.
Because the colors land in horizontal bands, the method suits models where a color boundary is already a design feature: the face of a plaque against its border, raised text against a backing plate, the stripe on a coaster.
Doing it in Bambu Studio
The exact menu wording shifts between versions, so check yours against the official documentation linked at the bottom. The flow is consistent:
- Slice the model as normal, then open the Preview tab.
- Find the vertical layer slider at the right of the preview. Drag it until the preview shows the last layer you want in your first color.
- Right click the layer number on that slider. The menu offers to add a filament change, and separately to add a pause, at that layer.
- Add the change, then slice again so the instruction is written into the file.
- Send it to the printer. When it reaches the layer, the head parks and waits for you.
When the printer stops, unload the old filament, cut a clean square tip on the new one, load it, and purge until the color runs true. Old color sitting in the melt zone is the main cause of a muddy band at the join. Purge onto a scrap or into the purge chute rather than into the model.
For a two color logo plate the sequence is simply: base and border in the first color, change at the layer where the raised face begins, finish in the second. One interruption, two colors, no extra hardware.
The purge tower variation
A second approach people use is to switch the slicer into a multiple filament mode, enable the purge tower, and assign colors to the objects or the regions. The printer then treats each color as a separate filament and stops for a swap when it needs one, purging into the tower so the transition is clean. It is more capable and more fiddly, and it is the approach the popular MakerWorld method page covers. That page is worth reading, with the caveat it states about itself: the method is not authorized, endorsed or supported by MakerWorld or Bambu Lab.
Limits worth knowing before you commit a long print
These come from community reports rather than vendor documentation, which is exactly why they are worth repeating:
- One change per layer is slow. People doing roughly a change per layer find the print becomes a babysitting job. Design for a handful of bands, not fifty.
- You may not be able to add a pause and a filament change on the same layer. Reported more than once. Pick one.
- The unload button can be greyed out during a print. Follow the on screen prompt from the filament change instead of trying to drive it manually.
- The change option can disappear entirely if the whole print is set to a single filament, because the slicer has no second filament to switch to. Set the print up as a multiple filament job first if the option is missing.
- Material compatibility still applies. Swap PLA for PLA. Jumping from PLA to PETG mid print means the nozzle temperature is now wrong for one of them, and layer adhesion across that boundary will suffer.
None of this is a reason to avoid the method. It is a reason to keep the number of changes small and to put them where you want them.
Choosing models that suit it
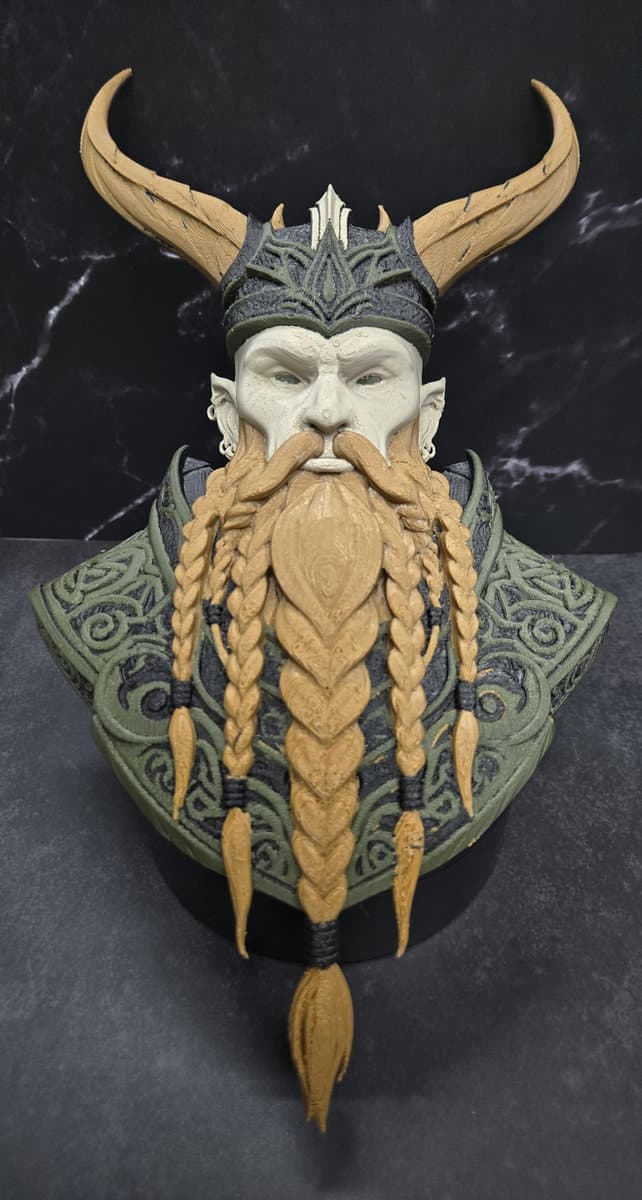
Flat and mostly flat pieces are the sweet spot. On this site that means plaques and wall pieces: the Wicked logo plate is about as good a first attempt as there is, since the color change can sit exactly at the layer where the logo face lifts off the backing. A wall hanger like the Kraghorn Thane works too if you want the mantle a different color from the face, as long as you accept that the boundary is a flat plane through the model rather than following the sculpt.
Once you look for them, color boundaries turn up all over a normal catalog. Three places in ours worth trying:
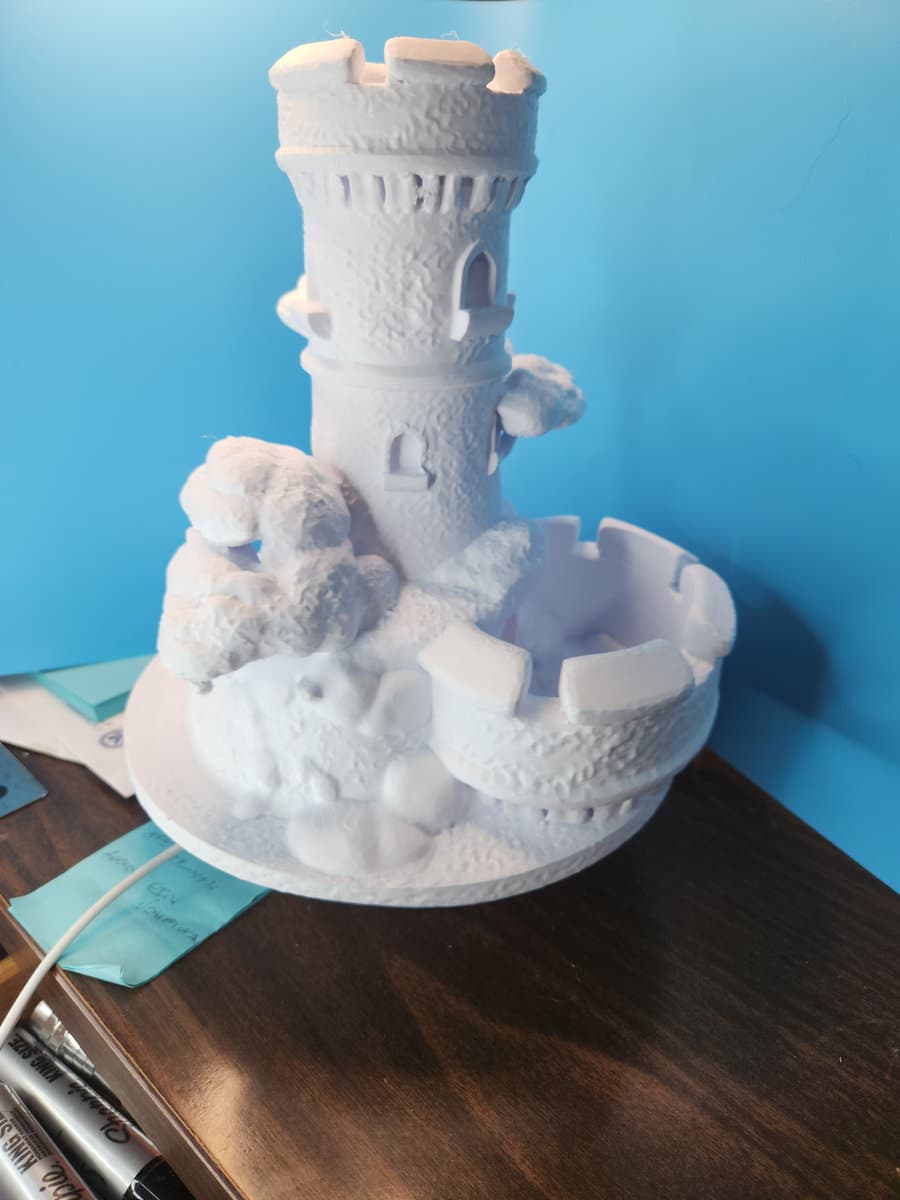
- Dice towers. The line where the tower meets its catch tray is a natural change point, and a stone grey keep above a dark tray reads far better than a tower printed in one color. The whole dice tower collection works this way, and the Rook Tower is the easiest first try because the transition sits on a flat band.
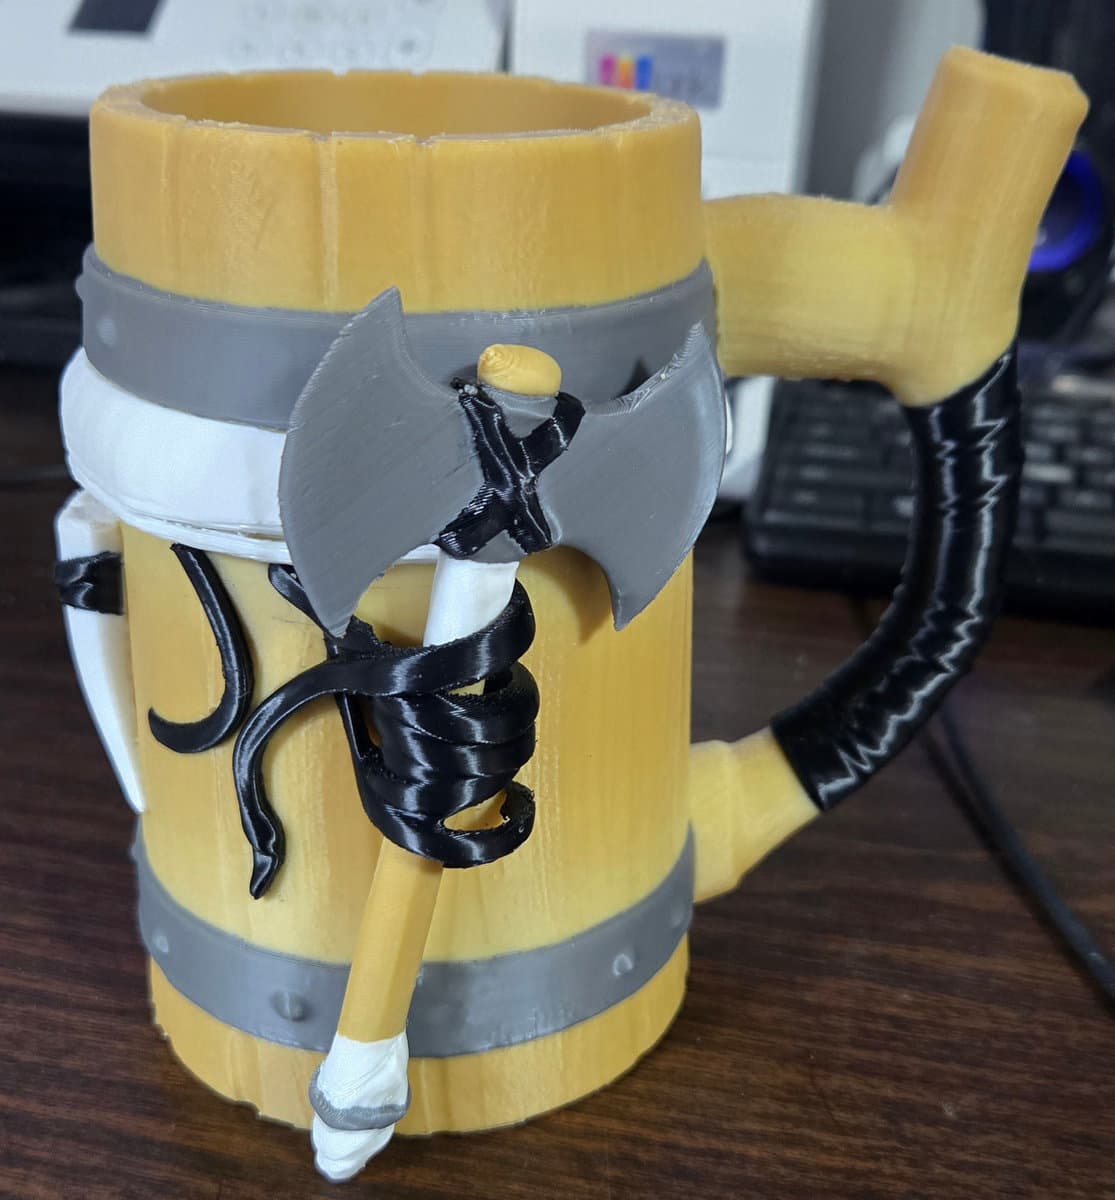
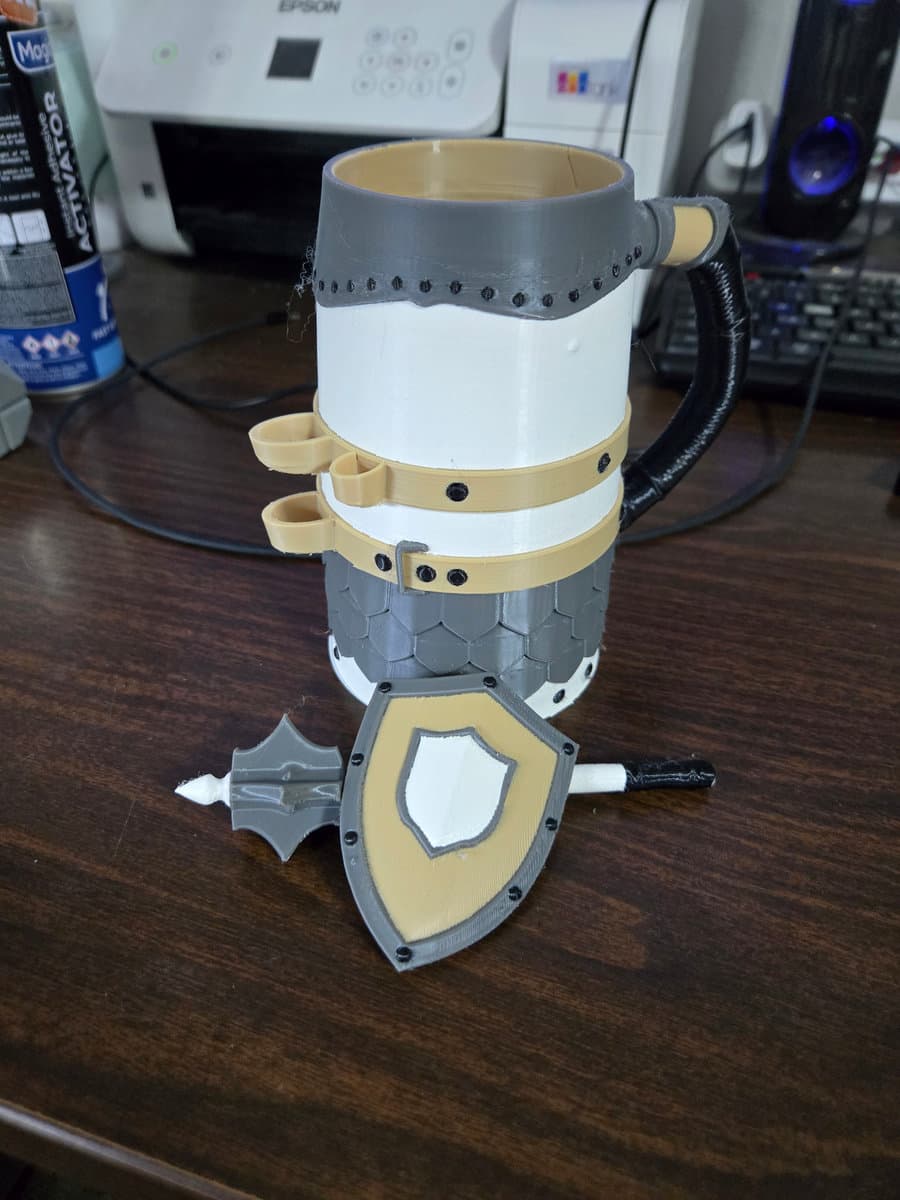
- Class tankards. A single change near the rim gives you a metal banded look for the price of one interruption. Pick any of the class tankards, and the Barbarian's battle tankard takes it particularly well.
- Plaques and wall pieces. The flattest and most forgiving of the lot, in busts, figures and decor.
What does not suit it: tall models with color detail distributed over the whole surface. A dragon with colored eyes is not a layer change job. Paint that instead, or print it in one color and dry brush it, which is what our dice tower guide covers for stonework.
A short checklist
Before you start a print with changes in it:
- Both spools dry, loaded nearby, with clean cut tips
- Change layers chosen from the preview, not guessed from the model height
- Sliced after adding the changes, and the preview checked to confirm they are there
- A scrap of card ready for purging
- Enough time to be in the room when each change comes up
Get those right and multicolor on a single extruder is genuinely easy. It is one of the few printing techniques where the hardware is not the thing standing in your way.
If you would rather not print it yourself
We print and finish pieces to order, multicolor included. Describe what you want through the custom quote form. And whatever you print from the files here, the commercial print license covers selling the physical prints.