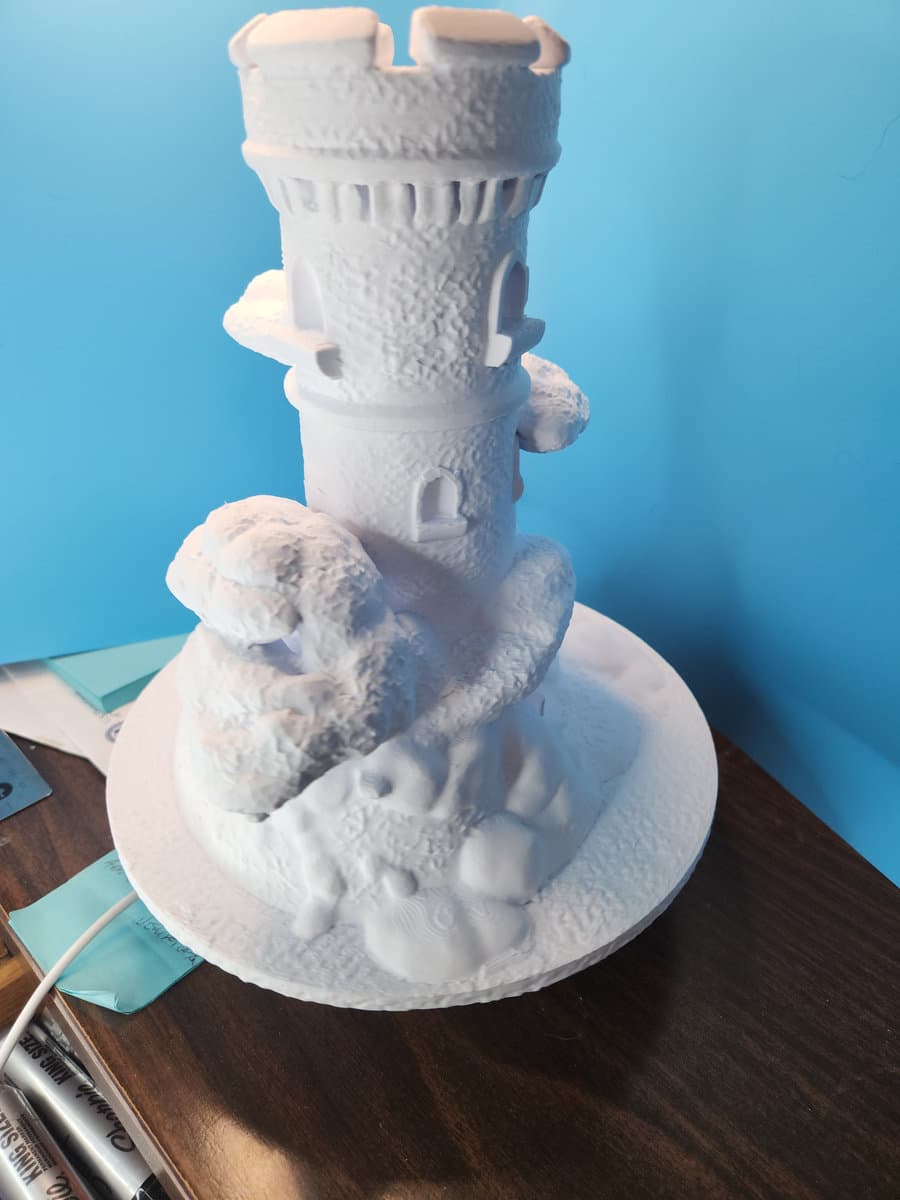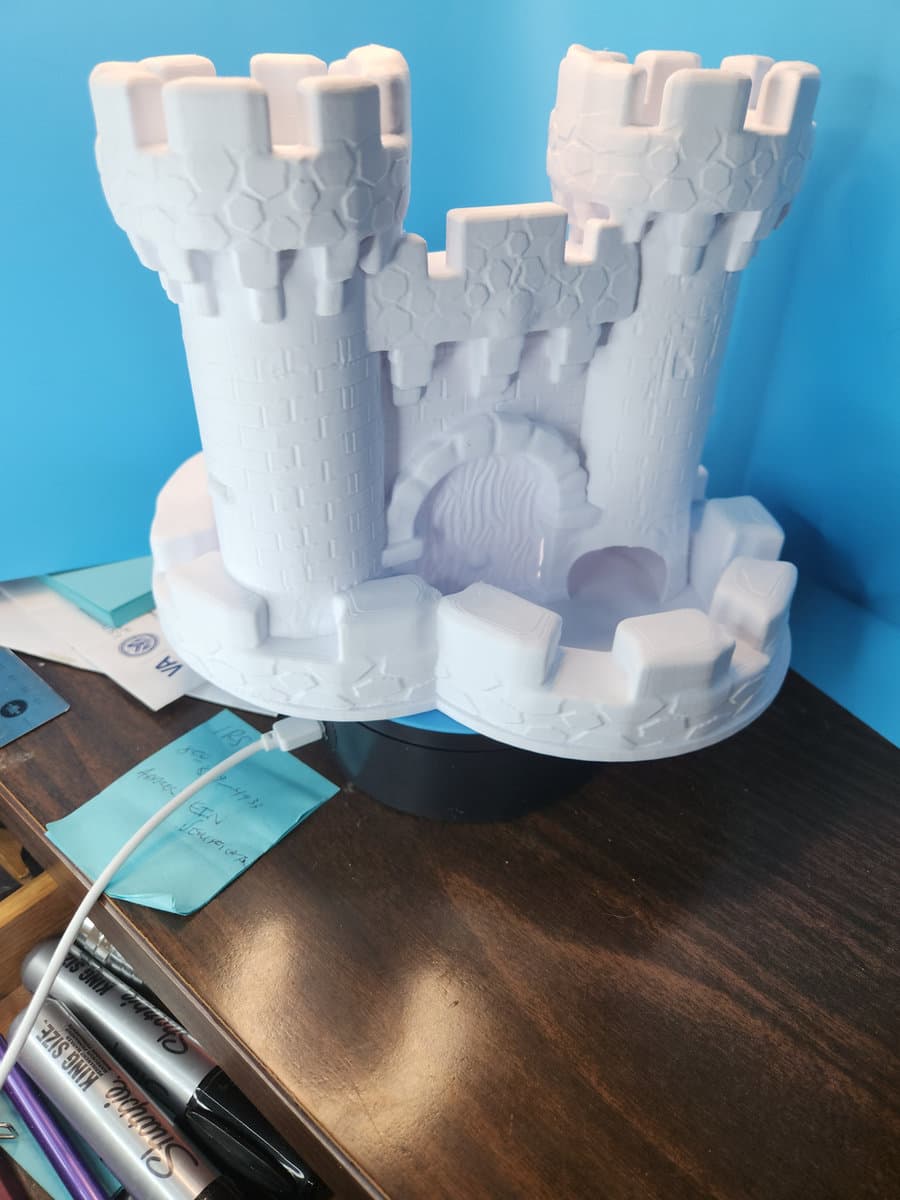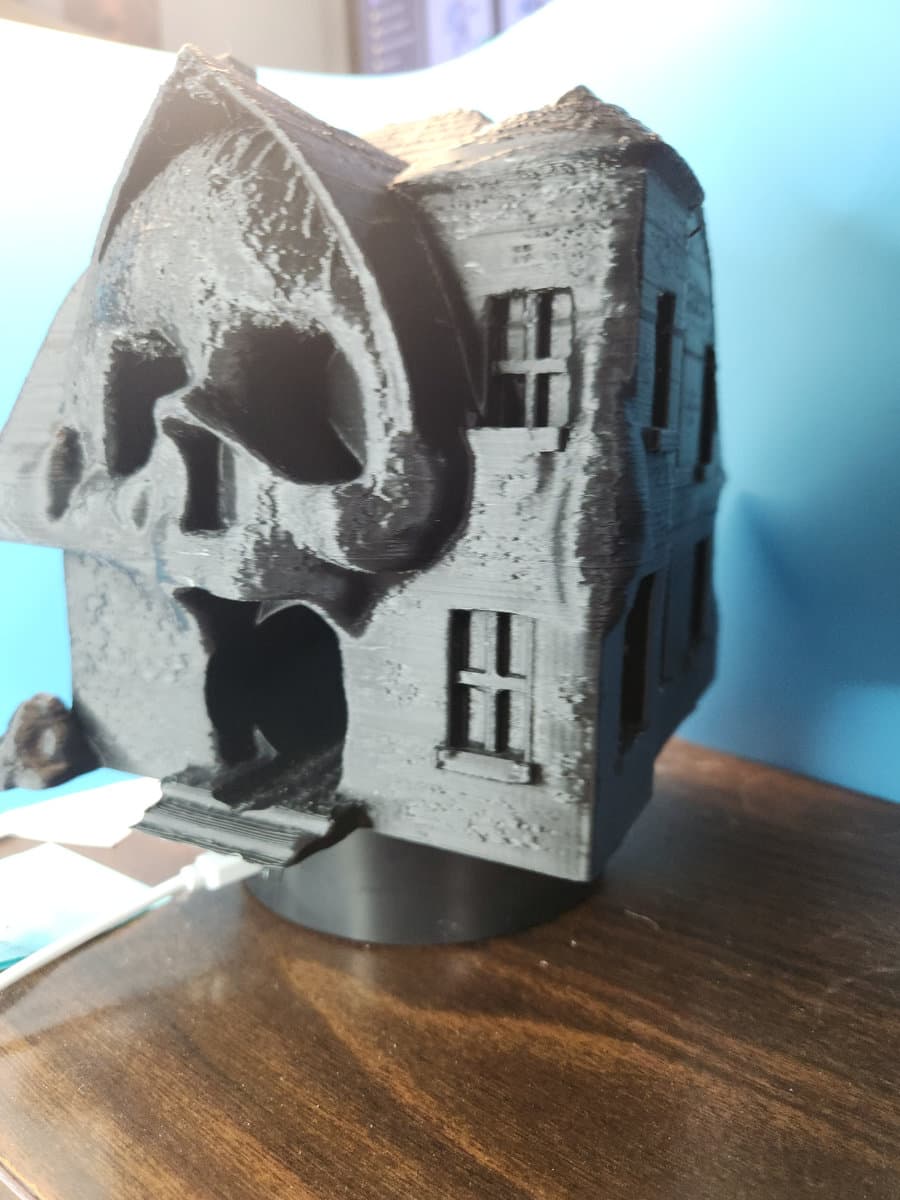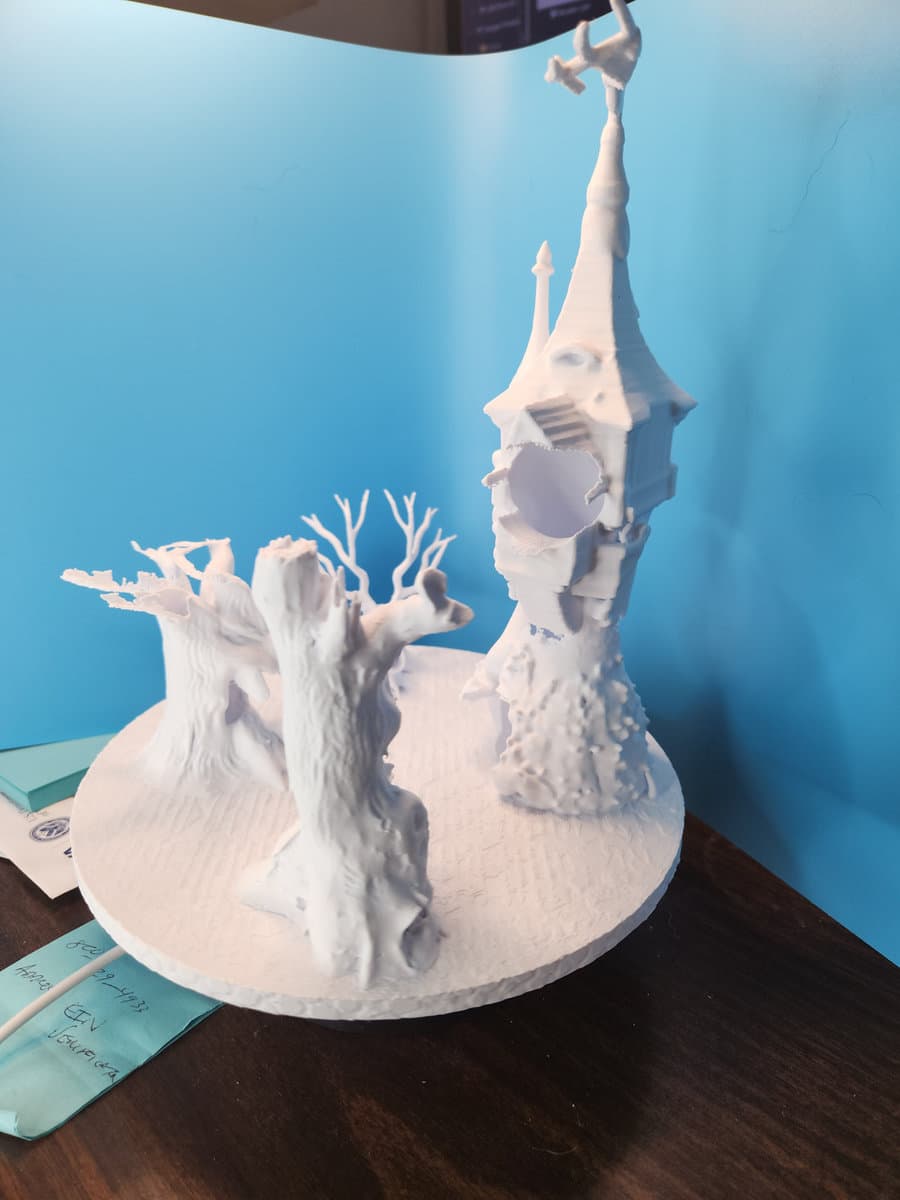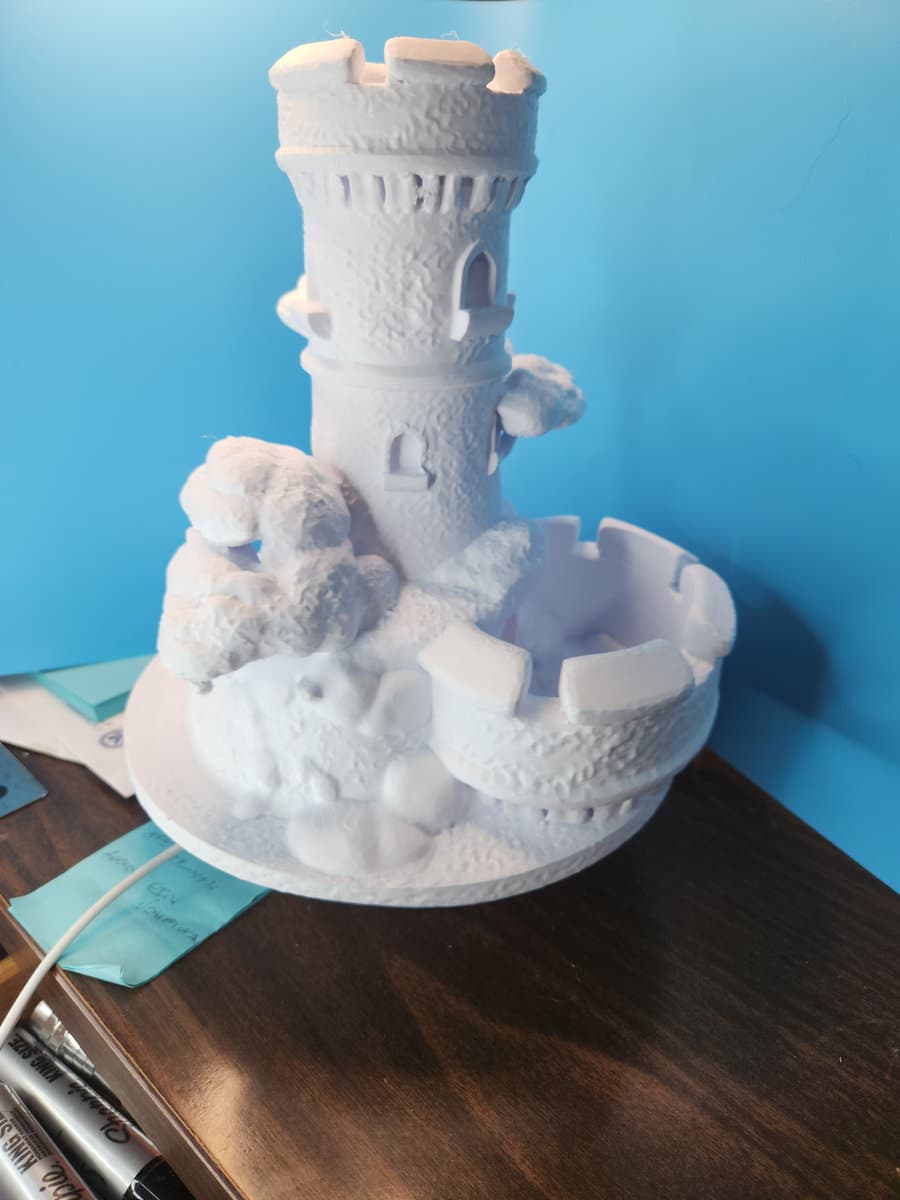
A dice tower has one job: take a die at the top, knock it about enough that nobody at the table can argue with the result, and drop it somewhere you can read it. Most printed towers that fail do not fail because of the printer. They fail because of geometry, and the geometry is settled long before you slice the file.
Here is what we have learned printing and rolling every tower in the dice tower collection.
What actually makes a roll fair
Three things decide whether a tower randomizes properly.
No straight shot. Stand the tower up and look down the chute with a light behind it. If you can see daylight from the mouth to the tray, a die can fall through untouched, and an untouched die is just a dropped die. Every baffle has to overlap the one above it.
Enough impacts. Two baffles is not enough for a d20. Three is the minimum we will sell, and most of the towers here use four. Each impact is another chance for the die to change face.
An angle that keeps dice moving. Somewhere around 35 to 45 degrees is the useful band. Shallower than about 30 degrees and dice stall on the baffle, particularly a d4, which will happily sit on a flat shelf forever. Steeper than about 50 degrees and the die slides instead of tumbling, which gets you a fast roll that is barely randomized at all.
That last point is why we test with a d4 and a d20 rather than a handful of d6s. A d6 will roll down almost anything. A d4 is a wedge and it finds every flat spot in a chute. If 50 drops of a d4 clear the tower without a jam, the geometry is sound.
The Rook Tower and the original Rook Tower are built around that band, and the Tower Gate does it twice, once for each side, so two players can roll at the same time without reaching across the table.
Slicer settings we use
These are starting points for a 0.4mm nozzle on a filament machine, not gospel. Your printer and your filament get the final say.
| Setting | What we use | Why |
|---|---|---|
| Layer height | 0.2mm, or 0.16mm for carved detail | A tower is mostly wall. Finer layers buy detail, not strength |
| Perimeters | 3 | Two is thin enough to crack when a tower gets knocked off a table |
| Infill | 10 to 15% | The model is a hollow shell. More infill adds hours and weight you do not need |
| Top and bottom layers | 4 | Keeps the tray floor from pin holing where dice land |
| Supports | Tree supports, baffles only | The walls print themselves. Only the leading edge of a baffle may need help |
| Cooling | Full fan after the first few layers | Sharp crenellations and window arches need the layer below to be set |
| Base | Add weight on taller towers | A light tower walks across the table when a die hits the top baffle |
Towers are tall prints, so the first layer matters more than usual. If the base lifts even slightly on one corner the whole tower leans, and a leaning tower funnels every die into the same wall. Clean the plate, get the first layer properly squashed, and add a brim if your bed adhesion is marginal.
Orientation, and why we print towers upright
Print the tower standing the way it will stand on the table. It feels wasteful, because the inside is hollow and the slicer wants to fill the plate, but it is the right call for two reasons.
Layer lines run horizontally around the tower, so a die hitting a wall pushes across the layers rather than trying to peel them apart. Lay a tower on its side and you are asking layer adhesion to hold the walls together in exactly the direction it is weakest.
The other reason is the chute. Printed upright, the baffle undersides are the only overhangs in the model, and a slicer will usually bridge them. Printed on its side, every baffle becomes a steep overhang needing supports, and support material inside a chute is miserable to remove. You will not get it all out, and what is left catches dice.
Sectioned towers and getting them to fit
Some towers are too tall for a 180mm bed and come in sections, or have a separate tray. A few notes from assembly:
- Dry fit everything before glue touches it. If two sections bind, a few passes with 220 grit on the mating face is faster than reprinting.
- Allow about 0.2mm of clearance on sliding fits. Printers over extrude slightly on small features, and a joint drawn with zero clearance will not go together.
- Cyanoacrylate glue holds PLA and PETG well. Scuff the surface, then clamp it for a minute. The plastic cement sold for model kits does very little to PLA.
- Glue the tower, let it cure fully, and only then line the tray. Glue fumes and felt do not mix well.
Material, noise and wear
PLA is the sensible default. It prints easily, holds crisp detail on stonework, and costs the least, which matters on a print this size. Its weakness is heat: PLA softens well below the temperature a car interior reaches in summer, so a tower that lives in a car between game nights will eventually droop. PETG handles heat and impact better, at the cost of stringing more readily in window arches. The material tables in the Prusa filament guide linked at the bottom give the figures for each.
Noise is the complaint nobody mentions until the tower is built. A hollow printed shell is a drum. Two fixes, both easy: glue felt into the tray so dice stop dead instead of bouncing, and run a strip of thin craft foam along the first baffle, where the loudest impact happens. You lose nothing in randomization, because the die is still tumbling. It is just quieter about it.
If your group rolls metal dice, assume wear. Metal on PLA polishes the baffle first and then gouges it. The tower becomes a consumable at that point, which is a decent argument for printing it yourself in the first place.
The failures we see most
Dice jam at the first baffle. Nearly always a baffle angle that has been scaled unevenly, or support material left in the chute. Check the scale factors on all three axes in the slicer.
Dice fly out of the tray. The tower is sitting too close to the table edge, or the last baffle is throwing dice harder than expected. Felt in the tray solves most of it.
A warped, leaning tower. First layer or bed adhesion. Reprint rather than fight it. A leaning tower never rolls right.
Stringing across the windows. Dry the filament, drop the nozzle temperature by five degrees, and tune retraction. Arched windows are the worst case for stringing, which is why the Haunted House and the Spooky Abandoned Tower are worth a dry spool.
A tower that walks. Add weight. Coins and epoxy in the base cavity, or print the base in PETG at higher infill.
No printer, or no time
Not everyone wants to spend a day of plate time on a tower. We print and finish towers on commission, so if you would rather have one arrive ready to use, send the details through the custom quote form and we will price it.
And if you print these towers to sell at markets or conventions, that is allowed and encouraged: the commercial print license that comes with every file covers the prints you make. The one thing you can never do is pass the file on. There is a whole guide on where that line sits, because it is the question we are asked more than any other.