An articulated flexi print is a magic trick: it comes off the plate as one object, you flex it, and it has working joints that were never assembled. When it works it is the most satisfying print on the shelf. When it fails it fails completely, because a flexi with fused joints is not a flawed print, it is a paperweight.
Having printed every file in the dragons and creatures collection, the failures sort into three kinds, and each has a specific cause.
Failure one: the joints are fused
You pick the model up, it does not move, and gentle force does nothing. This is the common one, and it is almost always too much plastic in the gap.
The joint gaps in these designs are a few tenths of a millimetre by intention. That is enough clearance for a joint and small enough that the gap does not look like a gap. The consequence is that anything which puts extra material into that space closes it:
Over extrusion. A flow rate a few percent high is invisible on a normal print and fatal here. Print a flow calibration cube or use your slicer calibration routine, and get flow right before blaming the model.
A first layer squashed too hard. If your nozzle is slightly too close to the plate, the first layer spreads sideways. On a flexi, that first layer contains the bottom of the first joint, and spreading it sideways welds it. If the rest of your prints are fine and only flexis fuse, this is your culprit. Raise the Z offset by a hair, or recalibrate.
Elephant foot. The same problem by another name: the first few layers bulging outwards. Most slicers have an elephant foot compensation setting. Use it.
Supports. Flexi models are drawn to print with no supports at all. If supports are on, the slicer will cheerfully fill the joint gaps with support material, which fuses on contact. Turn them off. Do not run a brim across a joint either.
A fused joint is not always permanent. Before you reprint, try flexing the model gently in the direction the joint is meant to move, working along the length of it. Links that are only lightly welded will often crack free. Links that have genuinely printed as one piece will not, and forcing them snaps the plastic.
Failure two: the joints snap
The opposite problem: the joints move and then a link breaks. This is a layer adhesion problem.
Cooling too aggressive for the filament. Flexi joints are small and print fast, which means each layer gets very little time before the next one lands, and the fan can chill the surface enough that the layers do not bond. PLA likes plenty of fan, but if you are printing in PETG, back it off substantially.
Temperature too low. Hotter plastic bonds better between layers. If links are snapping cleanly along a layer line, go up five degrees and try again.
Brittle filament. Moisture makes filament brittle, and so do heavy additives. Glitter and sparkle filaments are abrasive and more brittle than plain PLA, and a thin joint link is exactly where that shows. Dry a suspect spool before you blame the model.
Printing too fast on the small sections. The joints are the smallest features in the model, so the printer is making tiny moves at high acceleration. Slowing down on the first layers and keeping small perimeter speed moderate makes a real difference.
Failure three: scars and blobs on the surface
The model moves, nothing has snapped, and the surface looks chewed around the joints. Three usual culprits:
- Stringing and oozing into the gaps. Dry the filament, nudge the nozzle temperature down a few degrees, tune retraction.
- Z hop clipping. Z hop helps on most prints and can scrape across the top of a joint on a flexi. Try it switched off.
- Seam placement. Set the seam to a rear or aligned position rather than random, so what blemishes there are land in one line you can hide.
Settings we start from
For a 0.4mm nozzle in plain PLA:
| Setting | Starting point |
|---|---|
| Layer height | 0.16 to 0.2mm, or 0.12mm on small models |
| Supports | Off, entirely |
| Brim | Only if adhesion is poor, and never across a joint |
| Flow | Calibrated, not assumed |
| Cooling | Full fan for PLA, well reduced for PETG |
| Nozzle temperature | Middle of the filament range, up five degrees if links snap |
| First layer | Slightly raised rather than slightly squashed |
| Z hop | Off |
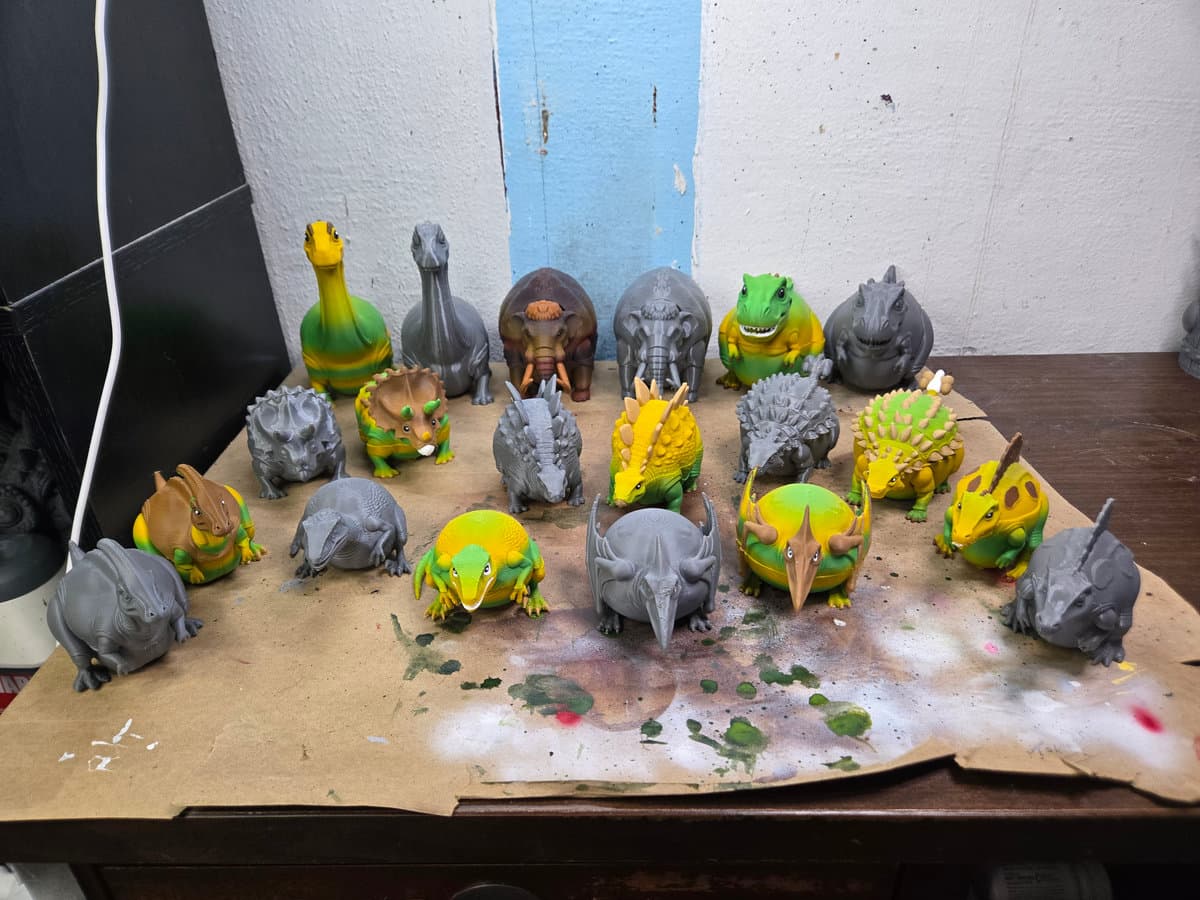
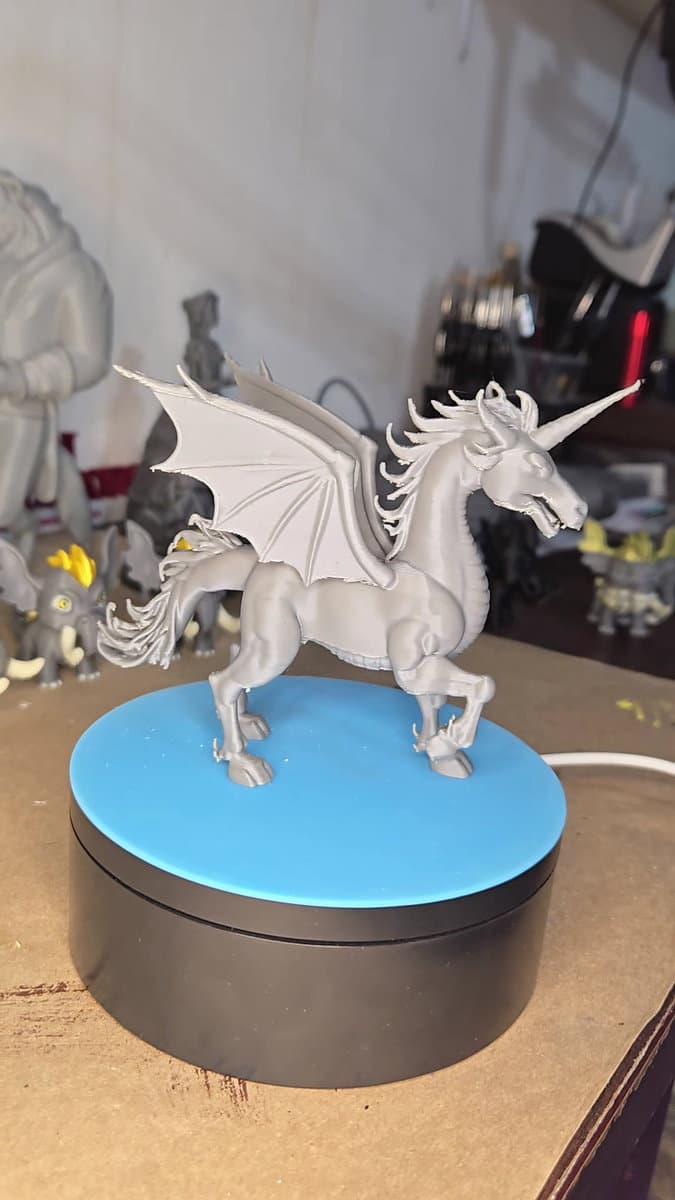
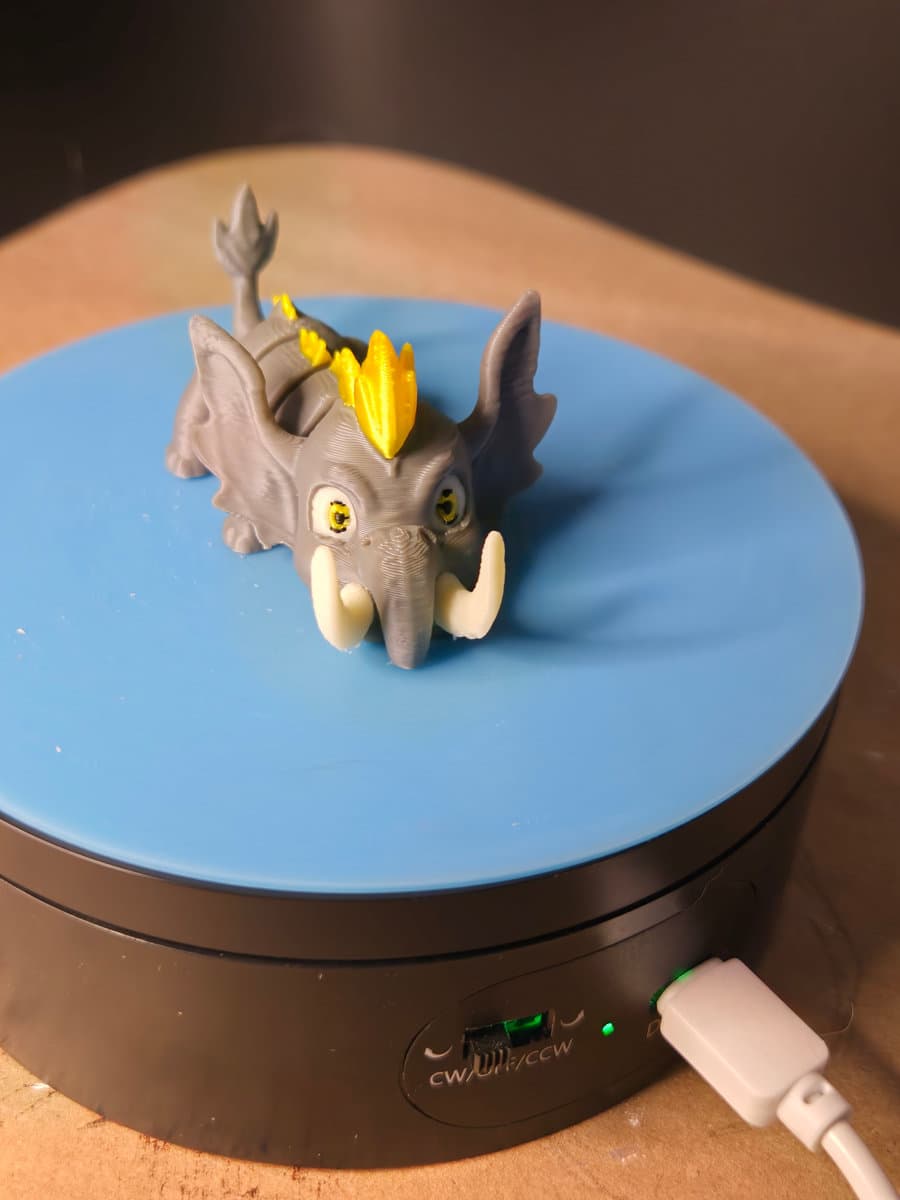
Those are starting points. The first flexi you print on a new machine is a calibration exercise as much as a print, which is a good reason to begin with a small one. Cubbiesaurs and the Chubbies are quick, use little filament, and tell you within an hour whether your settings are right. Once they come out moving, something longer like Manny the Mammoth Dragon or the Unidragocorn is a safer bet.
Scaling, and why small flexis fail
Scaling a flexi down scales the joint gaps down with it. Those gaps are already near the limit of what a 0.4mm nozzle can resolve, so a model at 60% often prints solid even with perfect settings. If you need it smaller, drop in steps of 10% and test, or fit a smaller nozzle and accept the extra print time. Scaling up is safe and makes everything easier, at the cost of filament.
Resin printers are the other trap. These files slice fine on a resin machine, but resin flexis fuse readily: uncured resin sits in the joint gaps and cures there, and a part this size is awkward to drain and wash properly. We cover the choice between the two processes in the resin or filament guide.
After the print
Work the joints loose gently, a little at a time along the model, twisting rather than yanking. Do not reach for pliers. If a joint will not free with light pressure, it is fused, and forcing it will break the link rather than release it.
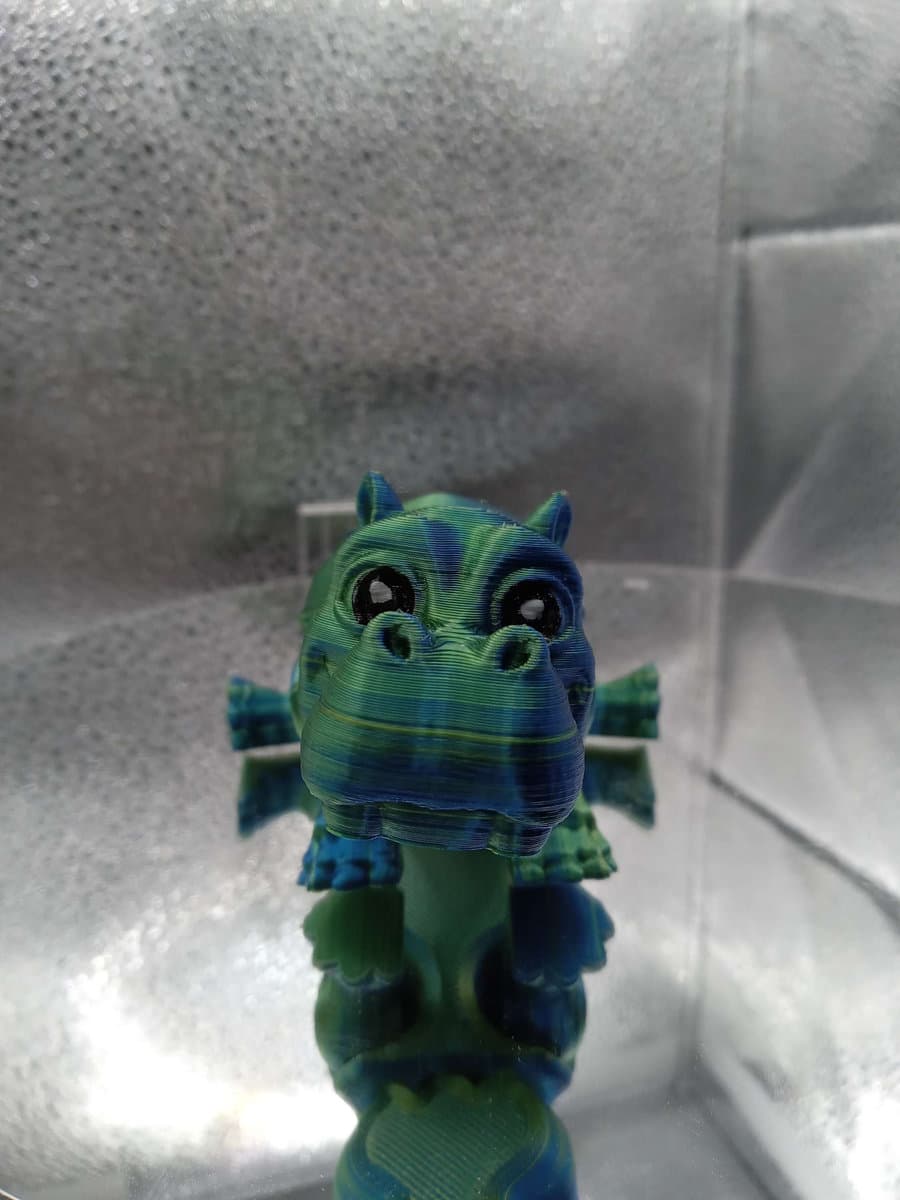
One thing we say on every listing: articulated prints are display pieces, not toys. The links are thin plastic that can snap into small pieces, so they are not for children to play with. If you want a finished one without printing it yourself, the shop sells hand finished articulated pieces too, like the articulated hippocampus.
If you print flexis for markets, they are among the best sellers on a stall because they demonstrate themselves in a customer's hands. The commercial print license covers the prints you sell, and the licensing guide covers the rest.