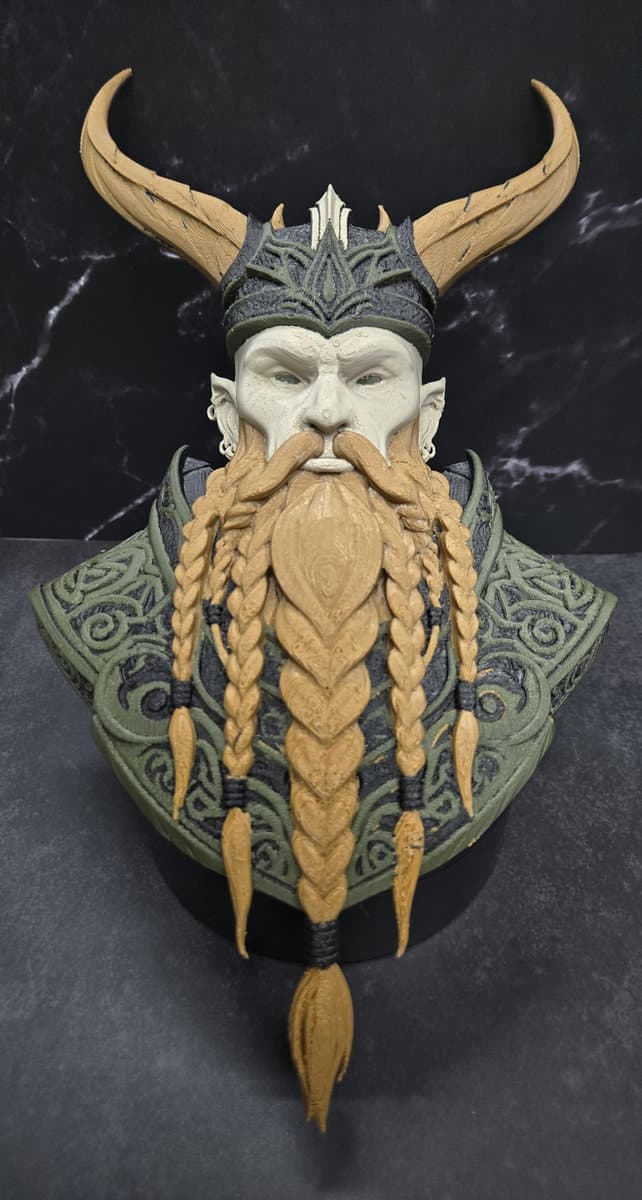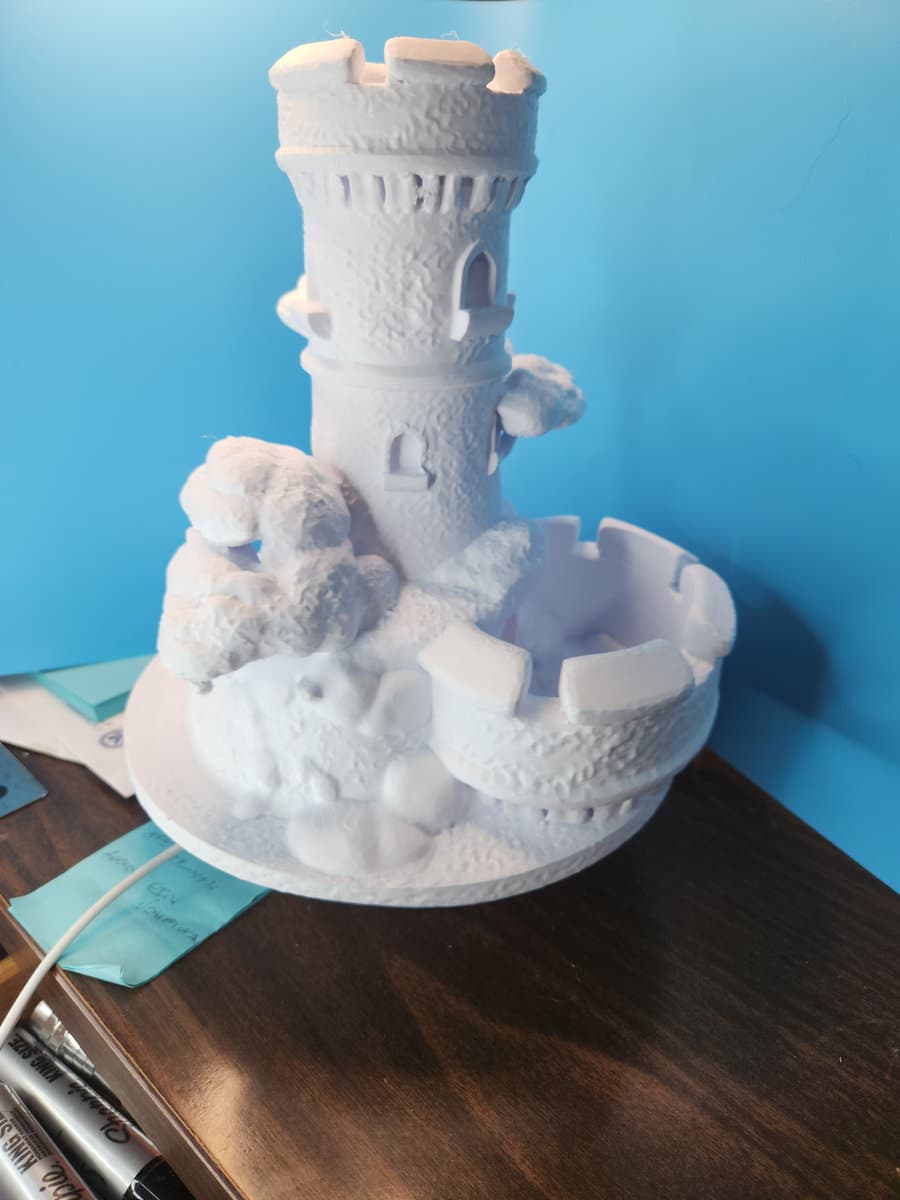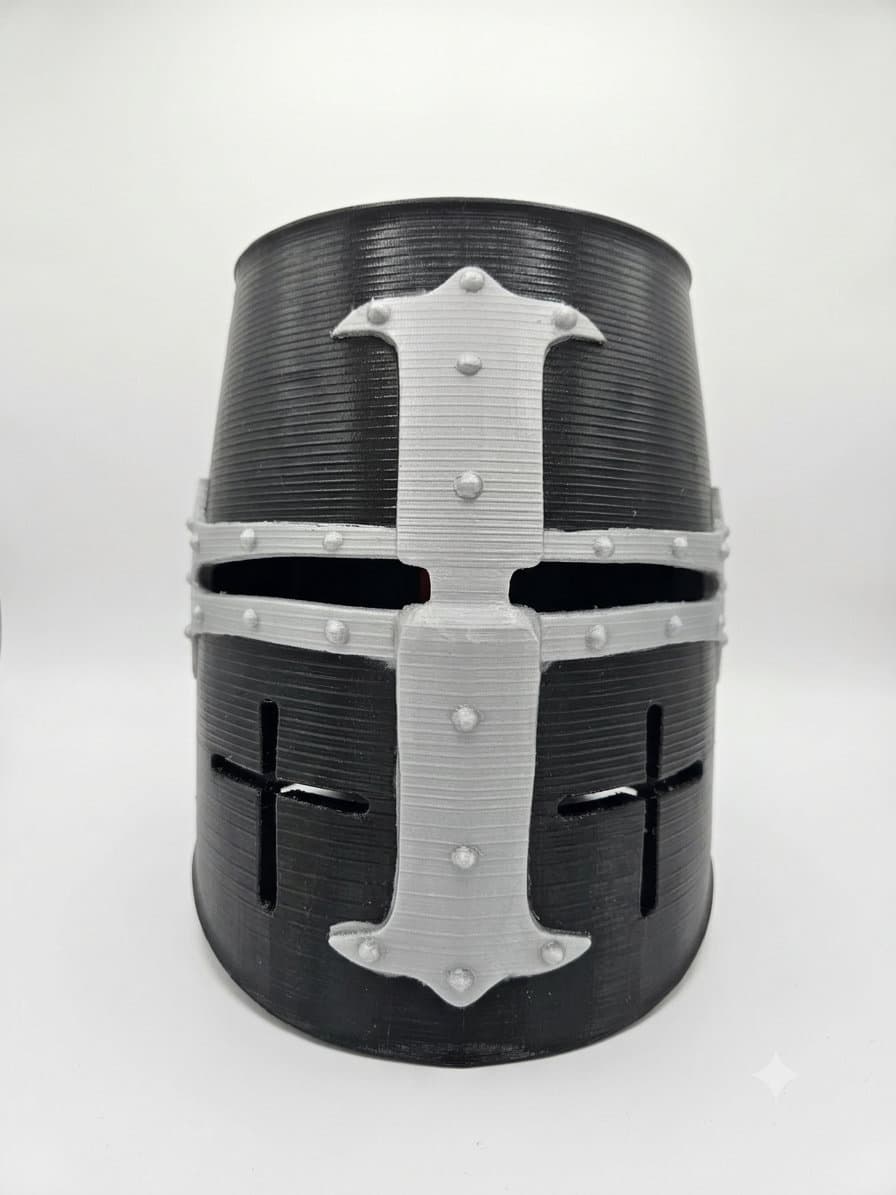
A helm is the one print where a millimetre of scale error is the difference between a prop you wear all weekend and a very expensive shelf ornament. It is also the print where the finishing work takes longer than the printing. Both of those are worth planning for before you start.
Everything below comes from printing and wearing the pieces in the helms and masks collection.
Measure first, slice second
Take three measurements with a soft tape:
- Circumference around your head, just above the eyebrows and above the ears. This is the one that decides whether the helm goes on.
- Front to back, from the brow to the back of the skull.
- Ear to ear, over the crown.
Then measure the same places on the model in your slicer. Most slicers will give you a bounding box, which is enough for front to back and ear to ear, but for circumference it is easier to slice a single layer at brow height and read the dimensions off that.
Scale the model uniformly until the internal circumference is 8 to 12mm larger than your measurement. That gap is for padding, and padding is not optional: it is what stops the helm resting on your skull and what keeps it pointing forward when you turn your head. For an open faced piece like Aethelgard you can run closer to the lower end of that range. For a full bucket like the Dark Crusader Great Helm, give yourself the full 12mm, because the helm has to clear your ears and your jaw on the way down.
Scale all three axes together, every time. A helm that has been stretched on one axis to make it fit will not sit level, and the faceplate will no longer line up with your eyes.
Choosing filament for something you wear
This is where most first helms go wrong, and it has nothing to do with print quality.
PLA prints beautifully, holds fine detail and is cheap, which makes it tempting for a large print. It also has the lowest heat tolerance of the common filaments. The manufacturer documentation linked below puts PLA well under the temperature a car interior reaches on a summer afternoon, and we have seen a PLA helm go soft enough to deform on the drive to an event. If the helm travels by car, that is disqualifying on its own.
| Filament | Wearable? | Trade off |
|---|---|---|
| PLA | For indoor display and short indoor wear | Lowest heat tolerance of the common filaments. Fine detail, easiest printing |
| PETG | Yes, our default for wearables | Handles heat and knocks far better. Strings more, so expect cleanup on arches and vents |
| ASA or ABS | Yes, the toughest option | Needs an enclosure and ventilation. Sands and smooths very well |
| PLA with a PETG shell on the structure | Workable compromise | More assembly, but puts the tough material where the stress is |
Whatever you choose, use 3 to 4 perimeters and about 10% infill. A helm does not need to be solid. It needs stiff walls, and perimeters are what give you that. Solid infill only adds weight on a print you have to hold up with your neck.
Orientation matters for the same reason it does on a dice tower: layer lines want to be across the direction of stress, not along it. The highest stress points on a helm are the rim, where you grip it to pull it on, and any mounting point for straps. Print those with the layers running around the part rather than across the thin section.
Splitting a helm for a small bed
A full great helm needs roughly 230mm of clearance in two directions. On a 180mm or 220mm bed you have three options, in order of preference:
Cut it into sections. Every modern slicer has a cut tool that will add alignment pins and sockets. Cut along a line the design already has, such as the base of a brow plate or a rivet band, so the seam has somewhere to hide. Glue with cyanoacrylate, fill the seam with body filler, sand it back.
Print it in two halves and join at the centreline. This leaves a seam straight down the face, which is the hardest seam to hide. Only do it if the design is symmetrical and heavily textured.
Scale it down. The fast answer and usually the wrong one, because the helm then fits a smaller head than yours. Only sensible if you are making a display piece rather than something to wear.
Finishing, which is most of the work
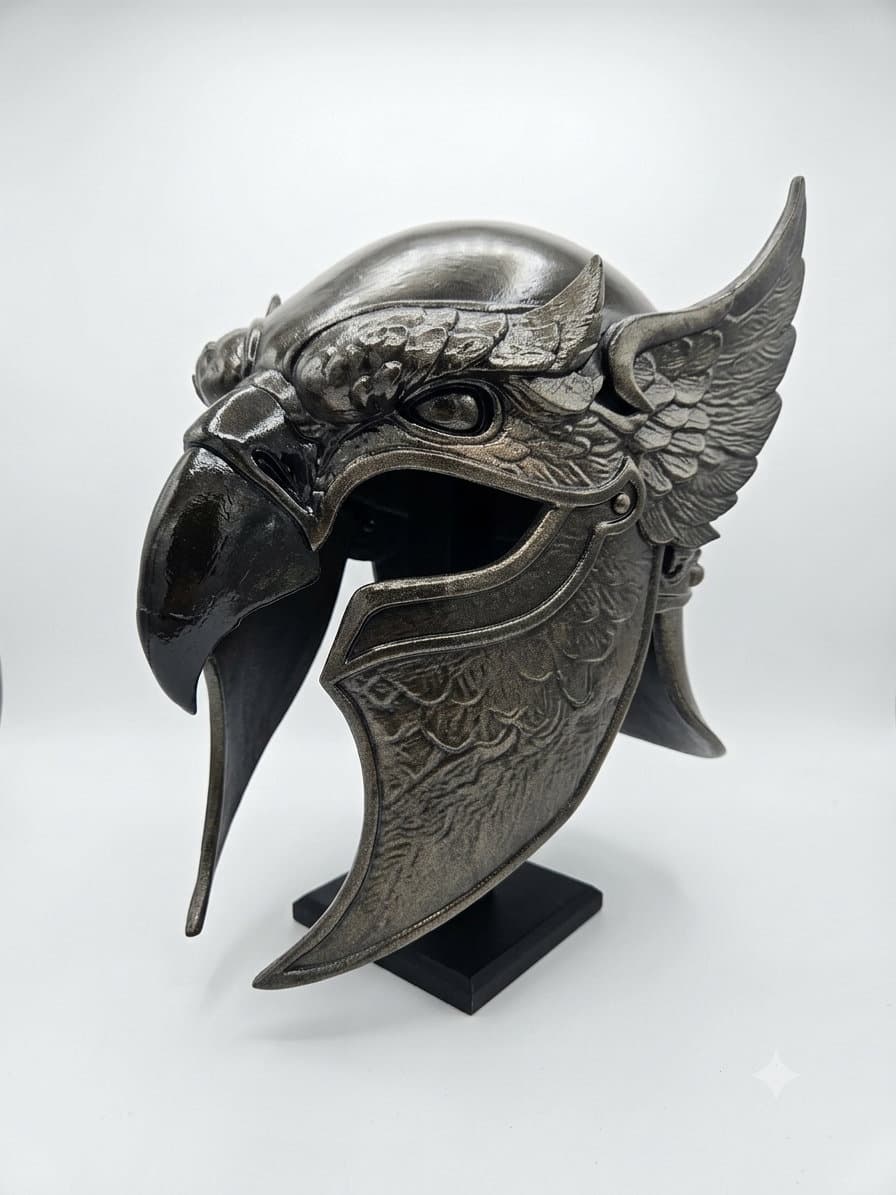
Printing a helm takes a day of plate time. Finishing it well takes considerably longer, and it is what separates a printed object from a prop.
- Remove supports and clean up. Deburr the rim and every vision slot. Anything sharp on the inside will find your forehead within ten minutes of wearing it.
- Sand the high points. 180 grit to knock layer lines down, then 320, then 400 if you want a smooth metal look. Do not chase perfection on textured areas, because texture hides layer lines for free.
- Filler primer, in thin coats. Two or three light coats, sanding between them, fills what is left of the layer lines. This is the step people skip, and it is the step that decides whether the finished helm reads as metal or as plastic.
- Paint. Base coat, then dry brushing or a metallic over a dark base for the worn metal look. Seal it with a matte or satin clear, because a gloss finish makes layer lines reappear under stage lighting.
- Pad and strap it. Closed cell foam on the crown and at the temples, an elastic or webbing strap through a chin point if the helm is heavy. Hot glue holds foam to PETG well. Fit the padding with the helm on your head, not on the bench.
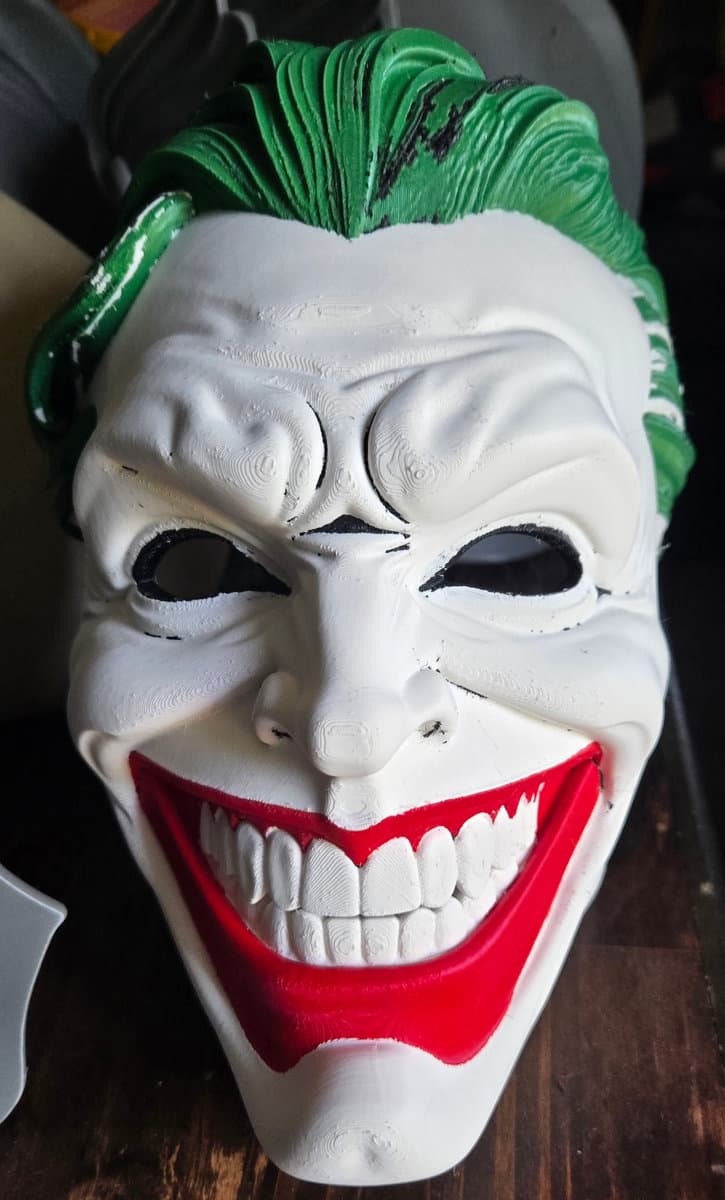
The Smiling Menace in the shop is the hand finished version of exactly that process, if you want to see where the steps lead before committing a weekend to one yourself.
Wearing it safely
Printed helms are costume. They are not protective equipment and they should never be treated as such:
- A printed shell offers no impact protection, whatever it looks like.
- Vision through a faceplate is badly restricted. Never wear a helm while driving, cycling, or anywhere near traffic.
- Check airflow before a long day. If the design has no vents and you will be in it for hours, add them where they will not show.
- Most conventions publish prop and costume rules. Read them before you build, particularly for anything that reads as a weapon alongside the helm.
Want one finished for you
We print, sand, prime and paint helms and masks to order, which is how most of the finished pieces in the shop came to exist. Send a photo of what you want and your head measurement through the custom quote form.
If you print helms to sell, the commercial print license on every file covers the physical prints. The guide on selling prints from bought files covers the detail, and if you are still deciding which machine to buy for work like this, the resin or filament guide is the one to read next.